
The difference between a pristine-looking paved area and one that is wonky or amateur looking is the way it has been laid. If you are considering laying some pavers at your place, it is paramount that you get the installation technique right. Here is our basic guide on how to lay your pavers perfectly.
Your pavers cannot just be laid on the ground. Doing this will most certainly result in sinking and shifting. Soil doesn’t provide sufficient stability, and it becomes soft when it’s wet. Laying your pavers on a stable base is key to achieving a long-lasting finish that isn’t going to shift over time. A way to achieve this is by creating a bedding for the pavers to lay on. You can do this by excavating the area and levelling out any uneven areas on the soil where you plan on paving. You may want to make a low frame to contain the bedding products in the area that you want them to be. This can be done by using runs of timber and pickets to square off the paved area. Measure and ensure it is level before you start paving.
Next, you’ll need to apply your road base and spread it across the surface using a rake, then you can go back over it with a level to ensure the entire surface is level, filling in any areas if need be as you go. Once you have got your road-based level you can then use a garden hose to wet down the area.
Using a plate compactor, run across the road base to compact it. It’s a good idea to go over the area a couple of times with the compacter to ensure it is firm.
It’s important that your pavers are laid straight and one way you can ensure that they are is by using a string line. Use one of your pavers as a guide and place it in the corner of your frame. Hammer in a nail into the timber where the end of the paver is and tie string on it. Measure from the nail to the timber end and repeat at the opposite end. Run the string from the first side to the other and tighten.

Rather than working your pattern out as you go, it is so much easier to do it beforehand. This can save you time and make the paver installation process much more streamlined. You may need to cut some of your pavers to size to accommodate your pattern.
The next layer of the bedding can be done in one of two ways; with bedding sand or mortar. You will achieve a much longer-lasting finish if you use mortar however, this is messier and can be more time-consuming. Here’s how to do both:
Laying your bedding sand involves much the same steps as laying your subbase material. Spread it out using a rake and then level it off. It will need to be compacted to ensure that it doesn’t erode when it rains. A great way of doing this is by using a vibrating compactor, this ensures that the sand is firm and compacted and not going to move. If you don’t have a vibrating compactor, you can hire them quite cheaply from Bunnings. They make the job much quicker and give you a better quality finish. If you choose to manually compact the sand yourself by using your feet, you are unlikely to achieve the compaction level that is required to create a sturdy base for the pavers to be laid on, and it’s a high possibility that they will sink over time.
To use the mortar method, you have to spread out around 30mm of mortar but only in the section where you’re going to lay the first paver otherwise, it might dry too much before you get to the next one. Place your paver on top of the mortar, ensuring that it is in line with your string line. Using a rubber mallet, gently tap the paver into the mortar. Make sure the paver is level before going on to the next one, and clean up any excess mortar using a damp sponge.
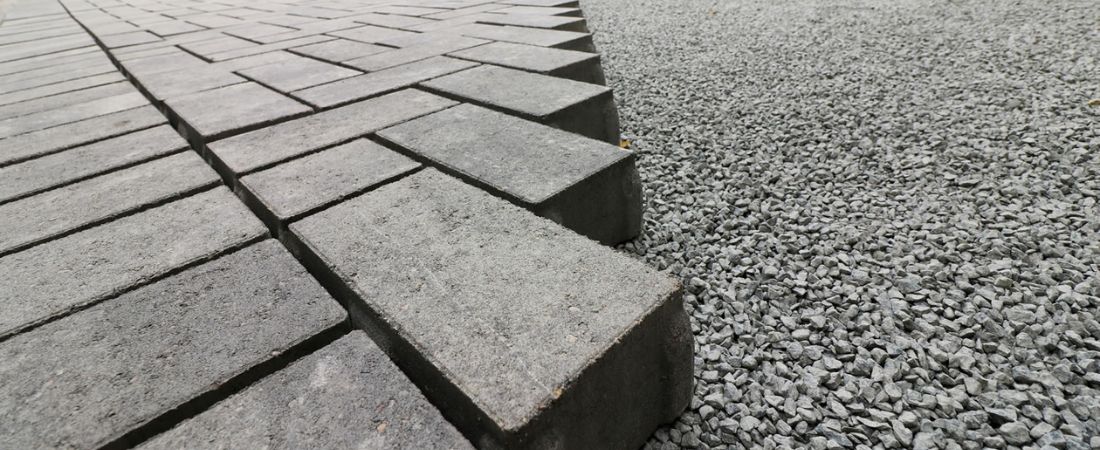
Using your string line, lay your pavers in your desired sequence or pattern and continue until the job is complete, checking to see if they are level as you go along. It’s recommended to leave a gap of 3 to 5mm between each paver. These gaps will then later be filled with sand or grout.
Filling your gaps properly can prevent movement and weeds from growing through your paver joints.
Place gap sand over your pavers and brush into the gaps using a broom, ensure that all the gaps have enough sand in them. Then you can run your vibrating compactor over the pavers and this will help the sand to shift even deeper into the joints. Re-fill any gaps as necessary with more sand and broom into place. Sweep away and remove any excess sand.
Make sure that you give your pavers time to set, do not walk on them for at least 24 hours especially if you’ve set them in mortar.
A paving project can be completed by anyone regardless of whether you have any experience or not. The main thing is that your bedding needs to be laid correctly to ensure a sturdy base for your pavers to lay on. Getting the foundation wrong is where so many avid DIYers miss the mark. Dipping and loose pavers not only look unpleasant, but they can become a trip hazard too.
If you are looking for some high-quality pavers for your next paving project or some additional paving advice, contact the friendly team at Bonita Stone. We manufacture premium pavers throughout Perth and we’d to help you turn your paving ideas into reality.
Contact us today to find out more about our products and services and how we can help you with your paving needs
© 2026 Bonita Stone Paving Products